Member-only story
Oh-My-Zsh Configuration Guide for MacOs Terminal
Zsh?
Oh-My-Zsh is a framework for Zsh, the Z shell.
Oh-my-Zsh configuration turned out to be not so straight-forward with instructions being scattered all over, so I decided to gather it all in one place.
Follow the steps to set up and configure oh-my-zsh in your terminal and customize it by adding additional plugins like docker commands completion, syntax highlighting and zsh-completions.
Also feel free to use my current working .zshrc file for reference and adjust it according to your own needs.
Step 1: Install Zsh
brew install zshWhat is Homebrew?
It is a command-line tool that helps you install open source command line utilities with a one liner.
If you don’t have it installed yet, type the command below in your terminal:
/usr/bin/ruby -e "$(curl -fsSL https://raw.githubusercontent.com/Homebrew/install/master/install)"Install and set up zsh as default
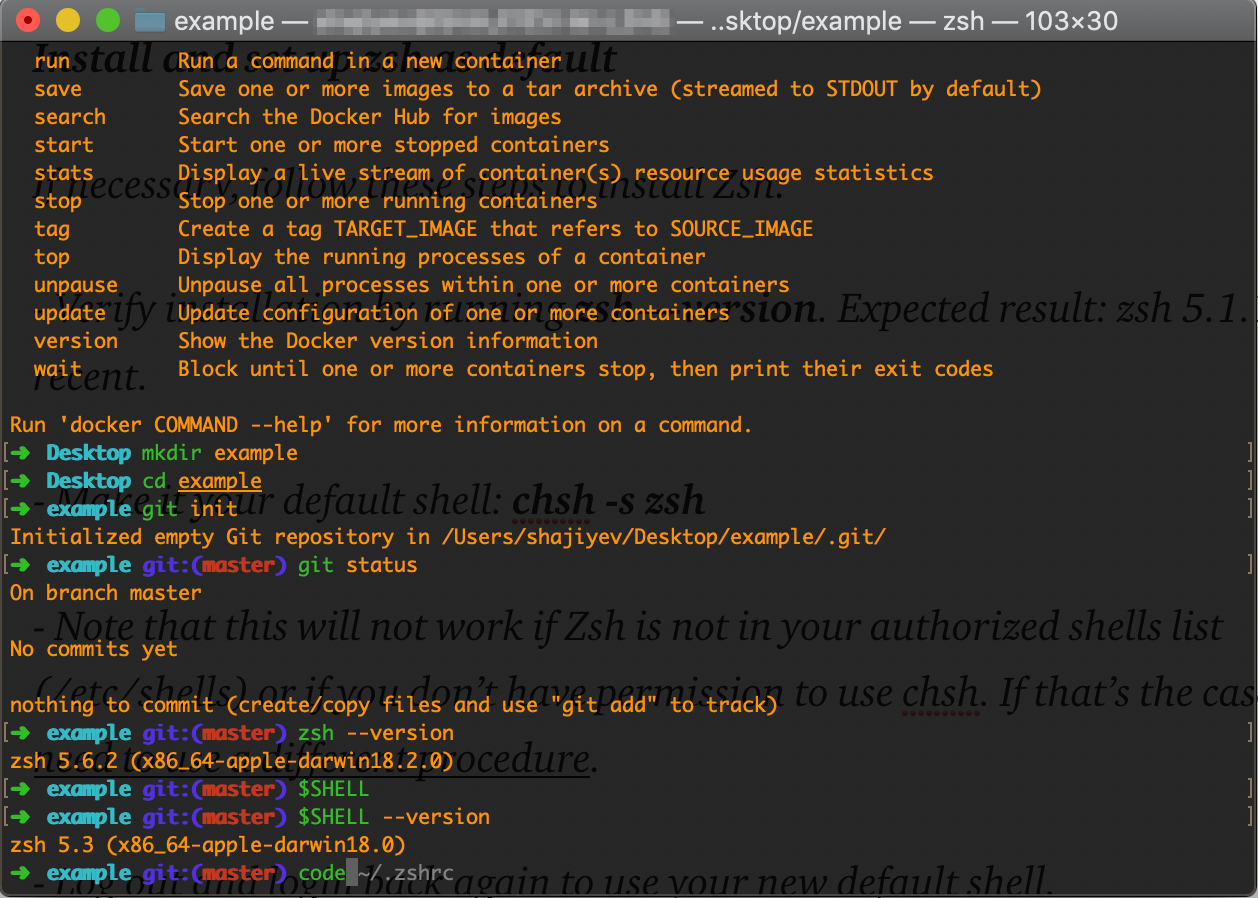
If necessary, follow these steps to install Zsh:
-Verify installation by running zsh — version. Expected result: zsh 5.1.1 or more recent.
- Make it your default shell: chsh -s zsh
**Note** that this will not work if Zsh is not in your authorized shells list (/etc/shells) or if you don’t have permission to use chsh. If that’s the case you’ll need to use a different procedure.
- Log out and login back again to use your new default shell.
- Test that it worked with echo $SHELL. Expected result: /bin/zsh or similar.
- Test with $SHELL — version. Expected result: ‘zsh 5.1.1’ or similar
Step 2: Install Oh-My-Zsh
In terminal type the following command:
sh -c "$(curl -fsSL https://raw.github.com/ohmyzsh/ohmyzsh/master/tools/install.sh)"Step 3: Configure Oh-My-Zsh
You can configure oh-my-zsh settings just by opening ~/.zshrc in any text editor.